How to create Bubble Animation Using Photoshop
How to Create Bubble Animation Using Adobe
Till now we have seen tutorials for still images, in this tutorial we will learn how to animate in Photoshop.
Take a water glass image (free from copyrights) from the internet or download this image I am using.
CLICK On images to Enlarge
Fig1

Now with the help of pen tool or polygon lasso tool, which ever you are comfortable with, make the selection of the water area of the glass as in Fig2

Take a new layer and select gradient tool and select the settings as shown.
Fig3

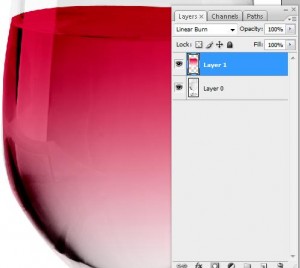
Now fill the selection dragging from top to the bottom and then change the blending mode to linear burn. We are creating Liquid in the Glass with Bubbles.
Fig4
Now create a new layer and with the elliptical marquee tool make the following selections. These are to draw and create bubble shapes in the liquid.
Fig5

Now fill this selection with a very light shade of red, for example this color code #fff2f2.
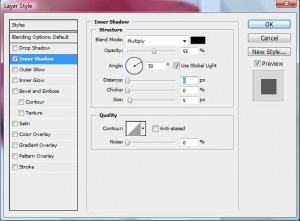
Go to the blending option and change the following settings
Fig6
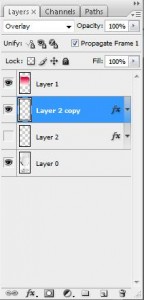
Now change the blending mode of this layer to overlay
Your image now should look like this.
Fig7

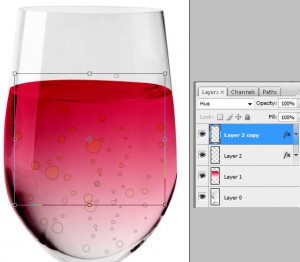
Now duplicate the bubble layer and increase its size using transform tool.
Fig8
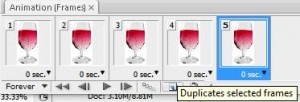
Now go to menu Window>Animation and then make 4 duplicate frames. In case your Adobe Photoshop version does not have this option (It will surely have) you can use these layer images in Adobe Imageready too and follow the steps ahead.
Fig9
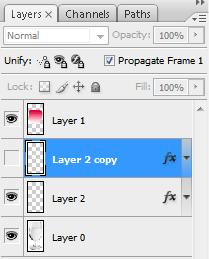
Now select frame1 and hide the duplicated bubble layer.
Fig10
Now select Frame2 and hide the original bubble layer
Fig11
Fig11.
Now select Fram3 and show all layers
Fig12
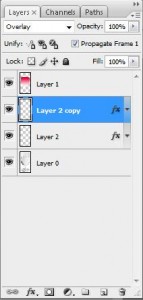
Now adjust the bubble layers like We have done it here.
Fig13

Now select Frame4 and hide duplicated bubble layer
Fig14
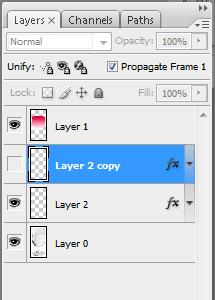
Again adjust the position of your bubble layer.
Fig15

Now select Frame5 and show all the layers
Now change the duration timing for the frames.
Click on the frames where there is down arrow and select 0.5second for Frames 1 to 4 and for Frame 5 select 1second.
Fig16

Now go to menu File>Save for Web & Devices and then save the file without any changes. Always create a backup of whatever work you do (Just In Case)
Create Whatever Shape You would want the Bubbles to form. Our Bubbles form the Shape “TD” for Techdivine, Of course!


CLICK ON THE IMAGE ABOVE. Let It Load completely and see the Bubbles getting animated in TD Shape!
Hope You enjoyed the tutorial.
Share your comments and views with us.
Have Fun!
For More Such Tutorials & Freebies Updates: CONNECT With Us Here:
Tweet with Us @techdivine Here
Join Us in Facebook Page: Techdivine Creative services Here
Join Us in Facebook Group Here
————–
Related Posts:
How to Create GLASSY TEXT Effect
How to Create Rain Effect with Photoshop

