How to create “Rain Effect” using Photoshop
In this tutorial, we will learn how to Create Artificial Rain effect on any image.
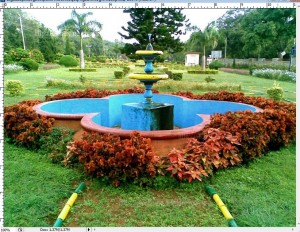
To begin with select an image to which you want to add rain effect. I have used this image which one of my colleague has shot while his trip to RIE Mysore. Fig.1
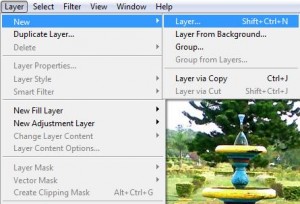
In this step we will first make a new layer and apply Clouds it.
Make a new layer.
Fig.2
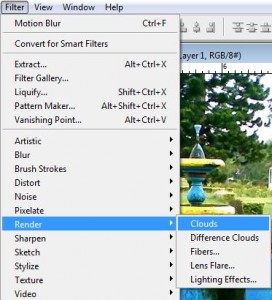
Now go to menu Filter>Render>Clouds
Fig.3
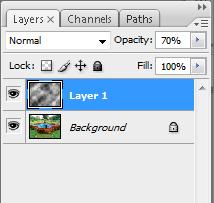
With the new layer still selected, reduce the opacity to 70%
Fig.4
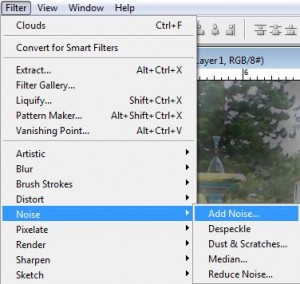
Now we will add some noise to this layer.
Go to menu Filter>Noise>Add Noise
Fig.5
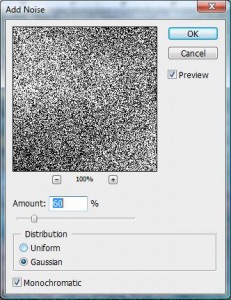
Set the value of Amount to 60%
Select Gaussian from Distribution and check Monochromatic
Fig.6
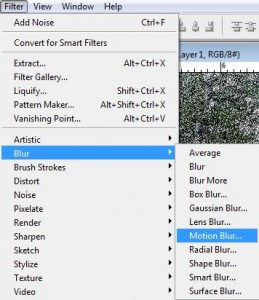
In this step our work is almost 70% done. We will now give some motion blur to the same layer we were working on.
Go to menu Filter>Blur>Motion Blur
Fig.7
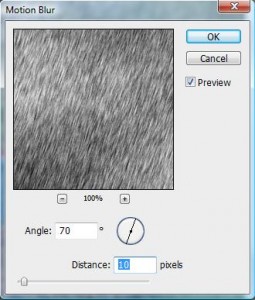
Set the angle to 70° and distance to 10 pixels.
Fig.8
Change the blending mode of this layer to Screen
Fig.9
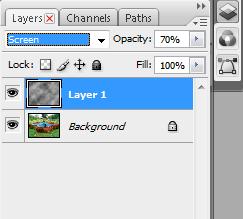
We have almost through with our work, just we need to give it a final touch by different blends and contrasts.
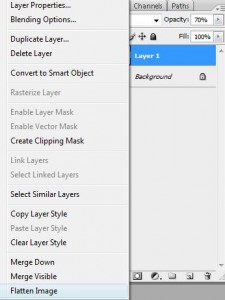
So first we will flatten the layer on which we were still working on to the image we are using.
Fig.10
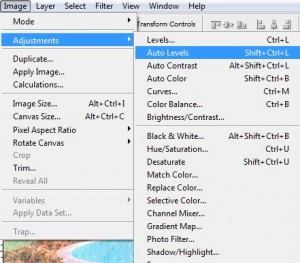
Now go to menu Image>Auto Levels. This will make our rain look little more realistic.
Fig.11
At this stage, You can do some color correction, contrast settings to suit your image style.
Go to menu Image>Adjustments> (Select the option that suits your image style to adjust Contrast/Color etc)
With this, our artificial rain is complete and the image now looks like this
Fig.12
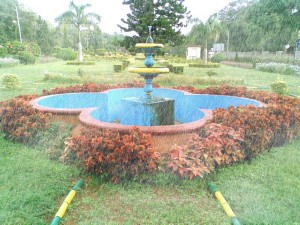
Final Image to compare the Before & After effect:
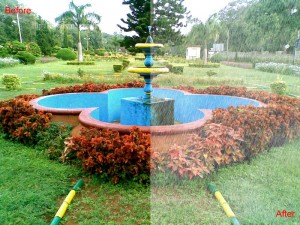
Hope you liked this tutorial!
Lots more coming your way.
You can also Stay Updated With Us Here: Subscribe For Free
Connect with us On:
Also, do write to us for any queries or views or comments:
admin@techdivine.com
—-
Yasir A
Designer
Related Post:
How to create Glowing Lines Tutorial
