Creating your own Special Effects: Glowing Lines and VFX effect in Photoshop
Here comes my fourth tutorial in Photoshop after the first 3: First Rays Effect Second Fire Effect
Third Ice Effect Creating your own Special Effects: Glowing Lines and VFX effect in Photoshop
In this tutorial we will create our very own special effect cool glowing lines.
It is a simple tutorial from which you can make your own desktop wallpaper and do so much more.
Step1:
Create a new document. I prefer selecting the size of 1280×1024 pixels and resolution 300.
Select background color as Black or you can change the background color later too.
Select the Brush tool then change the settings of the brush to size 3 pixel, 0% hardness and color white.
Create a new layer and then select Pen tool. Change the mode of Pen tool to Paths.
Now create the shapes like I have done below. Once you are comfortable with this tutorial,
which you will be very soon, you can add and create effects for your own shapes.
After drawing the line, right-click anywhere in the document and select stroke path.
Then in the options select Brush and check the box of Stimulate Pressure and hit OK.
Repeat this step for 4-5 times to get a good curved brush stroke.
Fig1
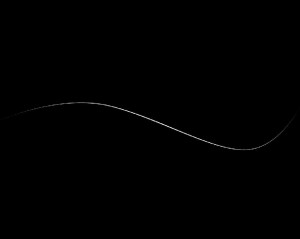
Step2:
Now we will make pattern of this stroked path. With the same layer active, hold Ctrl button and click on the active layer.
This will create a selection of the stroked path.
Now go to menu Edit>Define Brush Preset and save as a Brush.
Now hide this layer and select Brush tool.
Go to Brush settings and select the brush you just created (Hint: the recently created brush will appear at the very end) and change the settings as shown below.
Fig2
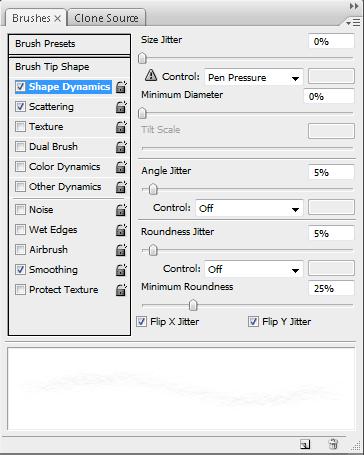
Fig3
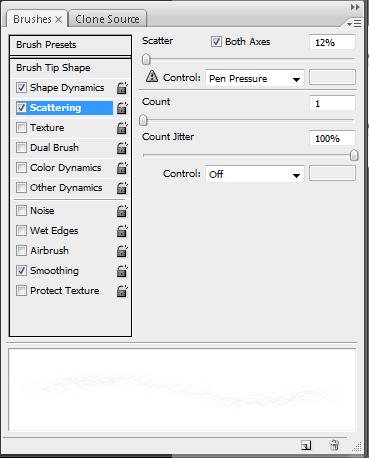
Step3:
Create a new layer and with the same brush as active that we just created
and edited, start drawing from left of the document to the right. You will see that all the lines must be different from each other due to the settings we have done. The image should look somewhat like below.
Fig4
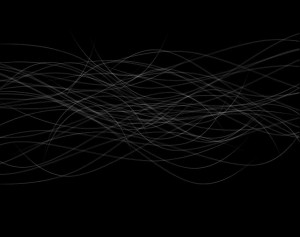
Step4:
After completing the above step, we will now give some glow to it.
Go to the blending options of the layer you are working on and use the settings below.
Fig5
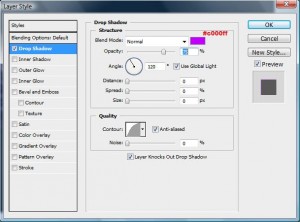
Fig6
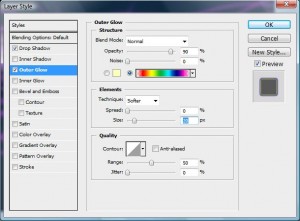
Step5:
Now make a duplicate of this layer you are working on.
Again go to the blending option of the duplicated layer and change the outer settings as below.
Fig7
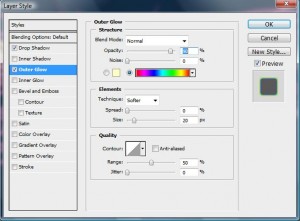
(Note: In the previous layer under the blending option for outer glow, we had gradient with transparent color at both the corners and for this step the ends are filled[colored] & not transparent)
Step6:
Draw some small dots of about 4-5 pixels in a new layer and repeat the steps 4 and 5.
Fig8

Step7:
Now make a new layer and select the Gradient tool and select the following pattern and style
Fig9
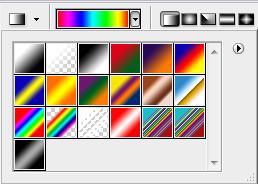
Fill the gradient in whichever way you like to. Change the blend mode to Color and set the Opacity to 55%
Fig10
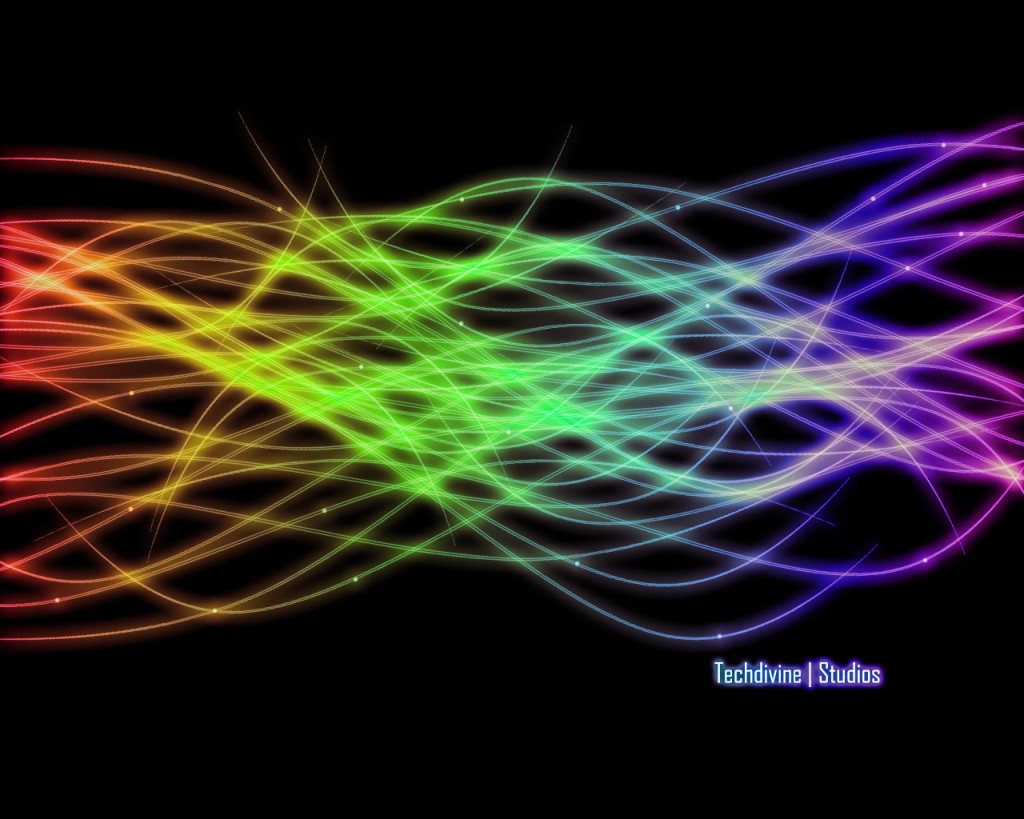
Hope you liked this tutorial.
You can also Stay Updated With Us Here: Subscribe For Free
Connect with us On:
Also, do write to us for any queries or views or comments:
admin@techdivine.com
—-
Yasir A
Designer
Related Post:
