How to create Fishy Text Bubble Bones in Photoshop Tutorial
How to create Fishy Bubble Bones in Photoshop Tutorial
Step 1 :
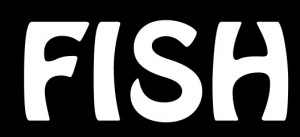
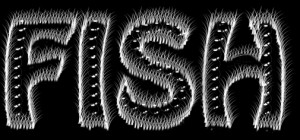
Create a new document 1240 X 700 px. Let the background colour be black. Type the text FISH in white with font style “Hobo STD” & font size 200 pt.
Step 2:
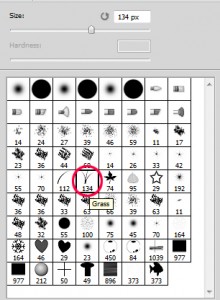
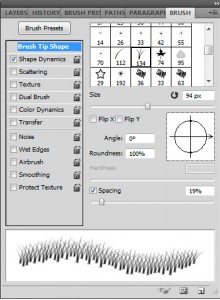
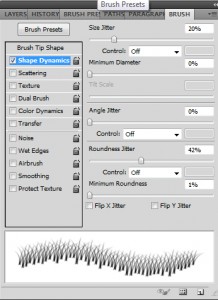
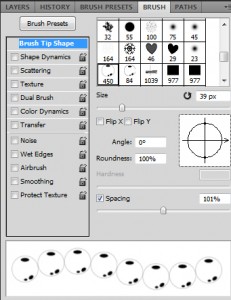
Take your brush tool as given below. Also go according to the settings of the brush.
Brush Tip Shape :
Shape Dynamic :
Step 3 :
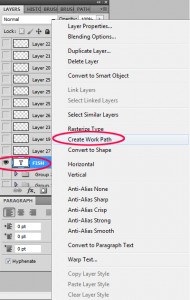
Right click on the text layer & choose create work path.
Step 4 :
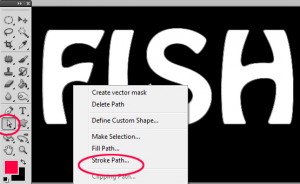
Now right click on the work path choose stroke path on a new layer.
After clicking stroke path you will get another popup window. But before that choose brush from the Tool drop down menu, and make sure that the Simulate Pressure box is un-checked.
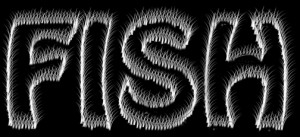
This will stroke the path with bone like feel across the path or stroke area. We have used the wavy bone style across the text to give it an underwater feel.
You can hide the text layer & delete the stroke path.
Step 5 : This step is to create bubble
Now we will create a selection of the shape of a bubble with the elliptical marquee tool.Just the shape of a bubble:
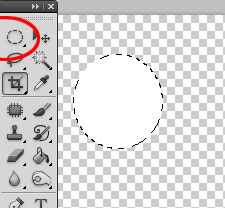
Reduce the Fill of this layer to zero. You will find this option on the Layers panel, below the Opacity option:

This will make the Layer’s contents invisible, but what we are going to do is apply layer styles, which will still be showing through. Open up the Layer Styles either by right-clicking the layer and choosing Blending Options, or double-clicking the layer in the Layers panel. You will want to play around with these settings to get the best outcome, but add a Drop Shadow (Opacity around 10%, Distance 1, Size 5), an Inner Shadow (Opacity around 10%, Distance 3, Size 5), and and Inner Glow (Color: White, Opacity 35%, Size 15px).
You should have something like this: (Note: Background should be transparent, Black is used here only for showing the outline)

Next, choose a soft brush around 9px or relative to the size of your bubble. Create a new layer and paint an arc at the top left of the bubble. Then reduce the opacity of the layer:
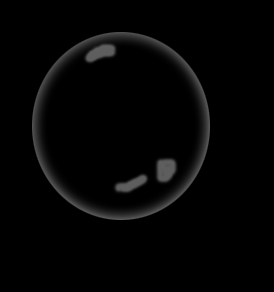
Now you can hide the background layer & Go to Edit >> Define brush preset you will get a pop up window & add it to your brush pallet.
Step 6 :
Take your brush tool as given below. Also go according to the settings of the brush to the extent possible.
Use the brush tool & fill the centre path of the text by brush tool.
Step 7
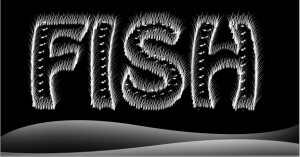
Make a curve shape with pen tool convert it into selection, inverse the selection & paint with big soft brush. As given in the image below:
Step 8:
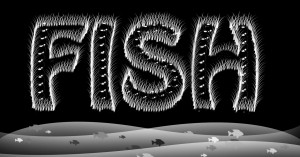
Also can add few fish shapes in the bottom to give it an Ocean bed feel.
It’s done.
Hope you liked this tutorial.
More coming soon…. Keep reading.
Stay Updated With Us Here: Subscribe For Free
Swati
Team Graphic Design – Techdivine Creative Services
—
You can Check Out Adobe related Products here
Related FREE Photoshop Creative Tutorial Posts:
- Create Stunning Text rays effect
- Create Fire and Ice effect – Part 1
- Create Fire and Ice effect – Part 2
- Create Rain Effect using Photoshop
- Creating Special Glowing Line effects in Photoshop
- How to make Text On FLAMES
- Amazing Glass Text effect using Photoshop
- How to create Bubble Animation using Photoshop
- Free Photoshop Tutorial – Line art effects
- Awesome Adobe Photoshop effects Tutorials
Connect with Us On:
On Google Plus:

