Free Photoshop Tutorial
Line Art Glowing Text effect – Free Photoshop Tutorial
Step 1
Create a document of 3000 x 2000 px wide. Fill background with black.
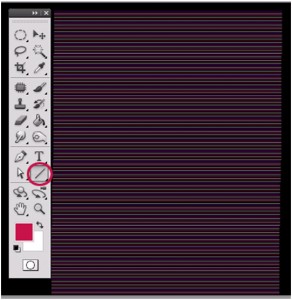
Step 2: Wrap Tool
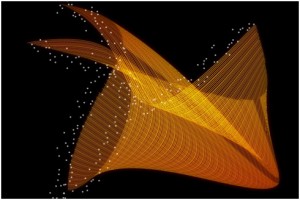
Draw many horizontal parallel lines by using line tool, hold shift key to get straight lines. You can use as many colours but also add white as base colour in between to get a balance effect. OR can use 3 to 4 different colours & repeat it by ctrl+J .Merge the layers into one layer it should look like the picture given below.
Step 3
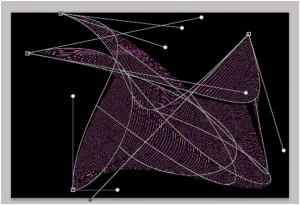
Now wrap it by using transform tool (Photoshop > Edit > Transform >Wrap) something in this way or any other shape you can create by twisting it.
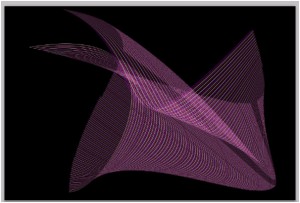
Step 4
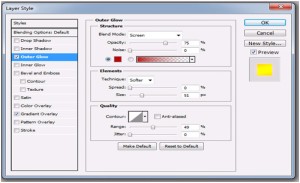
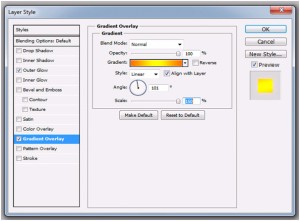
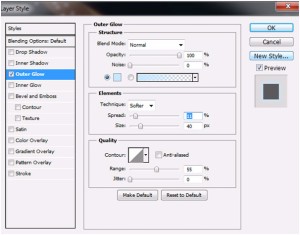
It’s time to give glow to the shape. Add outer glow & gradient overlay to it as given below.
Step 5 : Small brush Tool
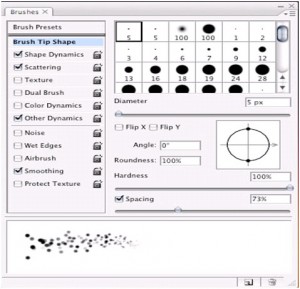
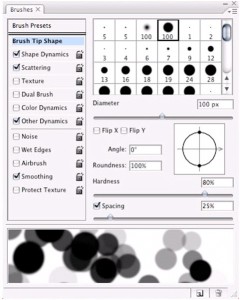
Within the Brush panel (Photoshop > Window > Brushes, or F5),explore the sizing, scattering (with fade), spacing and pressure: Create small dots with brush as shown below.
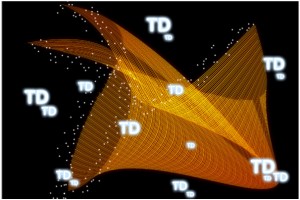
Next you have to do is place the effect of a brush all around in the manner it is shown. The difference is I have placed the text ‘TD’. You can paint using this brush & give outer glow to it as shown below.
It should look like this.
& It’s done!
Happy Creative Time!
Swati
Team Graphic Design – Techdivine Creative Services
—
You can Check Out Adobe related Products here
Related Posts:

